
Hands-On Earth Science Activities for Kids (3 Easy Homeschool Projects)
As a homeschooling mom, I know how challenging it can be to find Earth Science activities for kids that are both educational and genuinely fun. In my early homeschooling days, I spent hours searching for hands-on Earth Science projects that would bring lessons to life. Especially since my daughter thrives on interactive, creative learning. Those moments of exploring, experimenting, and yes… even laughing through the mess, have become some of our most meaningful homeschool memories.
If you’re looking for simple Earth Science experiments and engaging homeschool science ideas, you’re in the right place.
In this post, I’m sharing three of our favorite hands-on Earth Science activities that were absolute hits in our home classroom. These projects are perfect for elementary learners and include easy, step-by-step instructions so you can confidently recreate them at home.
Here’s what we’ll be making:
🌍 Landform Cake (a fun way to learn about Earth’s surface)
🏗️ Earthquake Structure Jello (exploring seismic activity in a hands-on way)
🌋 Volcano Experiment (a classic homeschool science favorite!)
These Earth Science projects for homeschoolers are not only educational, they’re interactive, memorable, and perfect for curious kids who love to explore, create, and get a little messy while learning.
🌍 Landform Cake

This was one of the first Earth Science projects we did and it instantly became a favorite! It gave my daughter a fun, hands-on way to visualize different landforms. Since there wasn’t enough space in our 9x13 pan to create every type, she chose to make a mountain, canyon, river, glacier, and plateau.
Supplies:
2 boxes of cake mix (any flavor you like. Homemade works, too!)
Oreos
Rolos
M&M’s
Frosting
Food coloring
Instructions:
Bake the Cake
Prepare and bake your cakes according to the directions. We made one 9x13-inch cake and one 8-inch round cake. Let them cool completely (baking the day before works best).Plan the Landforms
While the cake cools, have your child decide which landforms they want to include. Encourage them to draw a simple layout or “map” of how they’ll design their landform cake.Mix the Colors
Separate your frosting into small bowls. Add food coloring to create different landform colors: blue for water, green for grass, white for snow, brown for mountains, etc.Create the Landforms
Canyon & River: Use a spoon or knife to carefully dig out part of the cake to the desired shape and depth.
Glacier: Stack Oreos and “glue” them together with frosting.
Mountain: Use the 8-inch cake. Cut circles of different sizes, stack them with frosting between each layer, then carve your desired mountain shape.
Plateau: Leave a flat section of cake unfrosted or level the top for a raised, flat area.
Decorate the Cake
Once your structures are in place, frost and decorate the entire cake using your colored frosting and candies.
This activity is not only a creative way to learn about landforms—it’s also delicious! We had so much fun making (and eating) ours.
🏗️ Earthquake Structure Jello Experiment
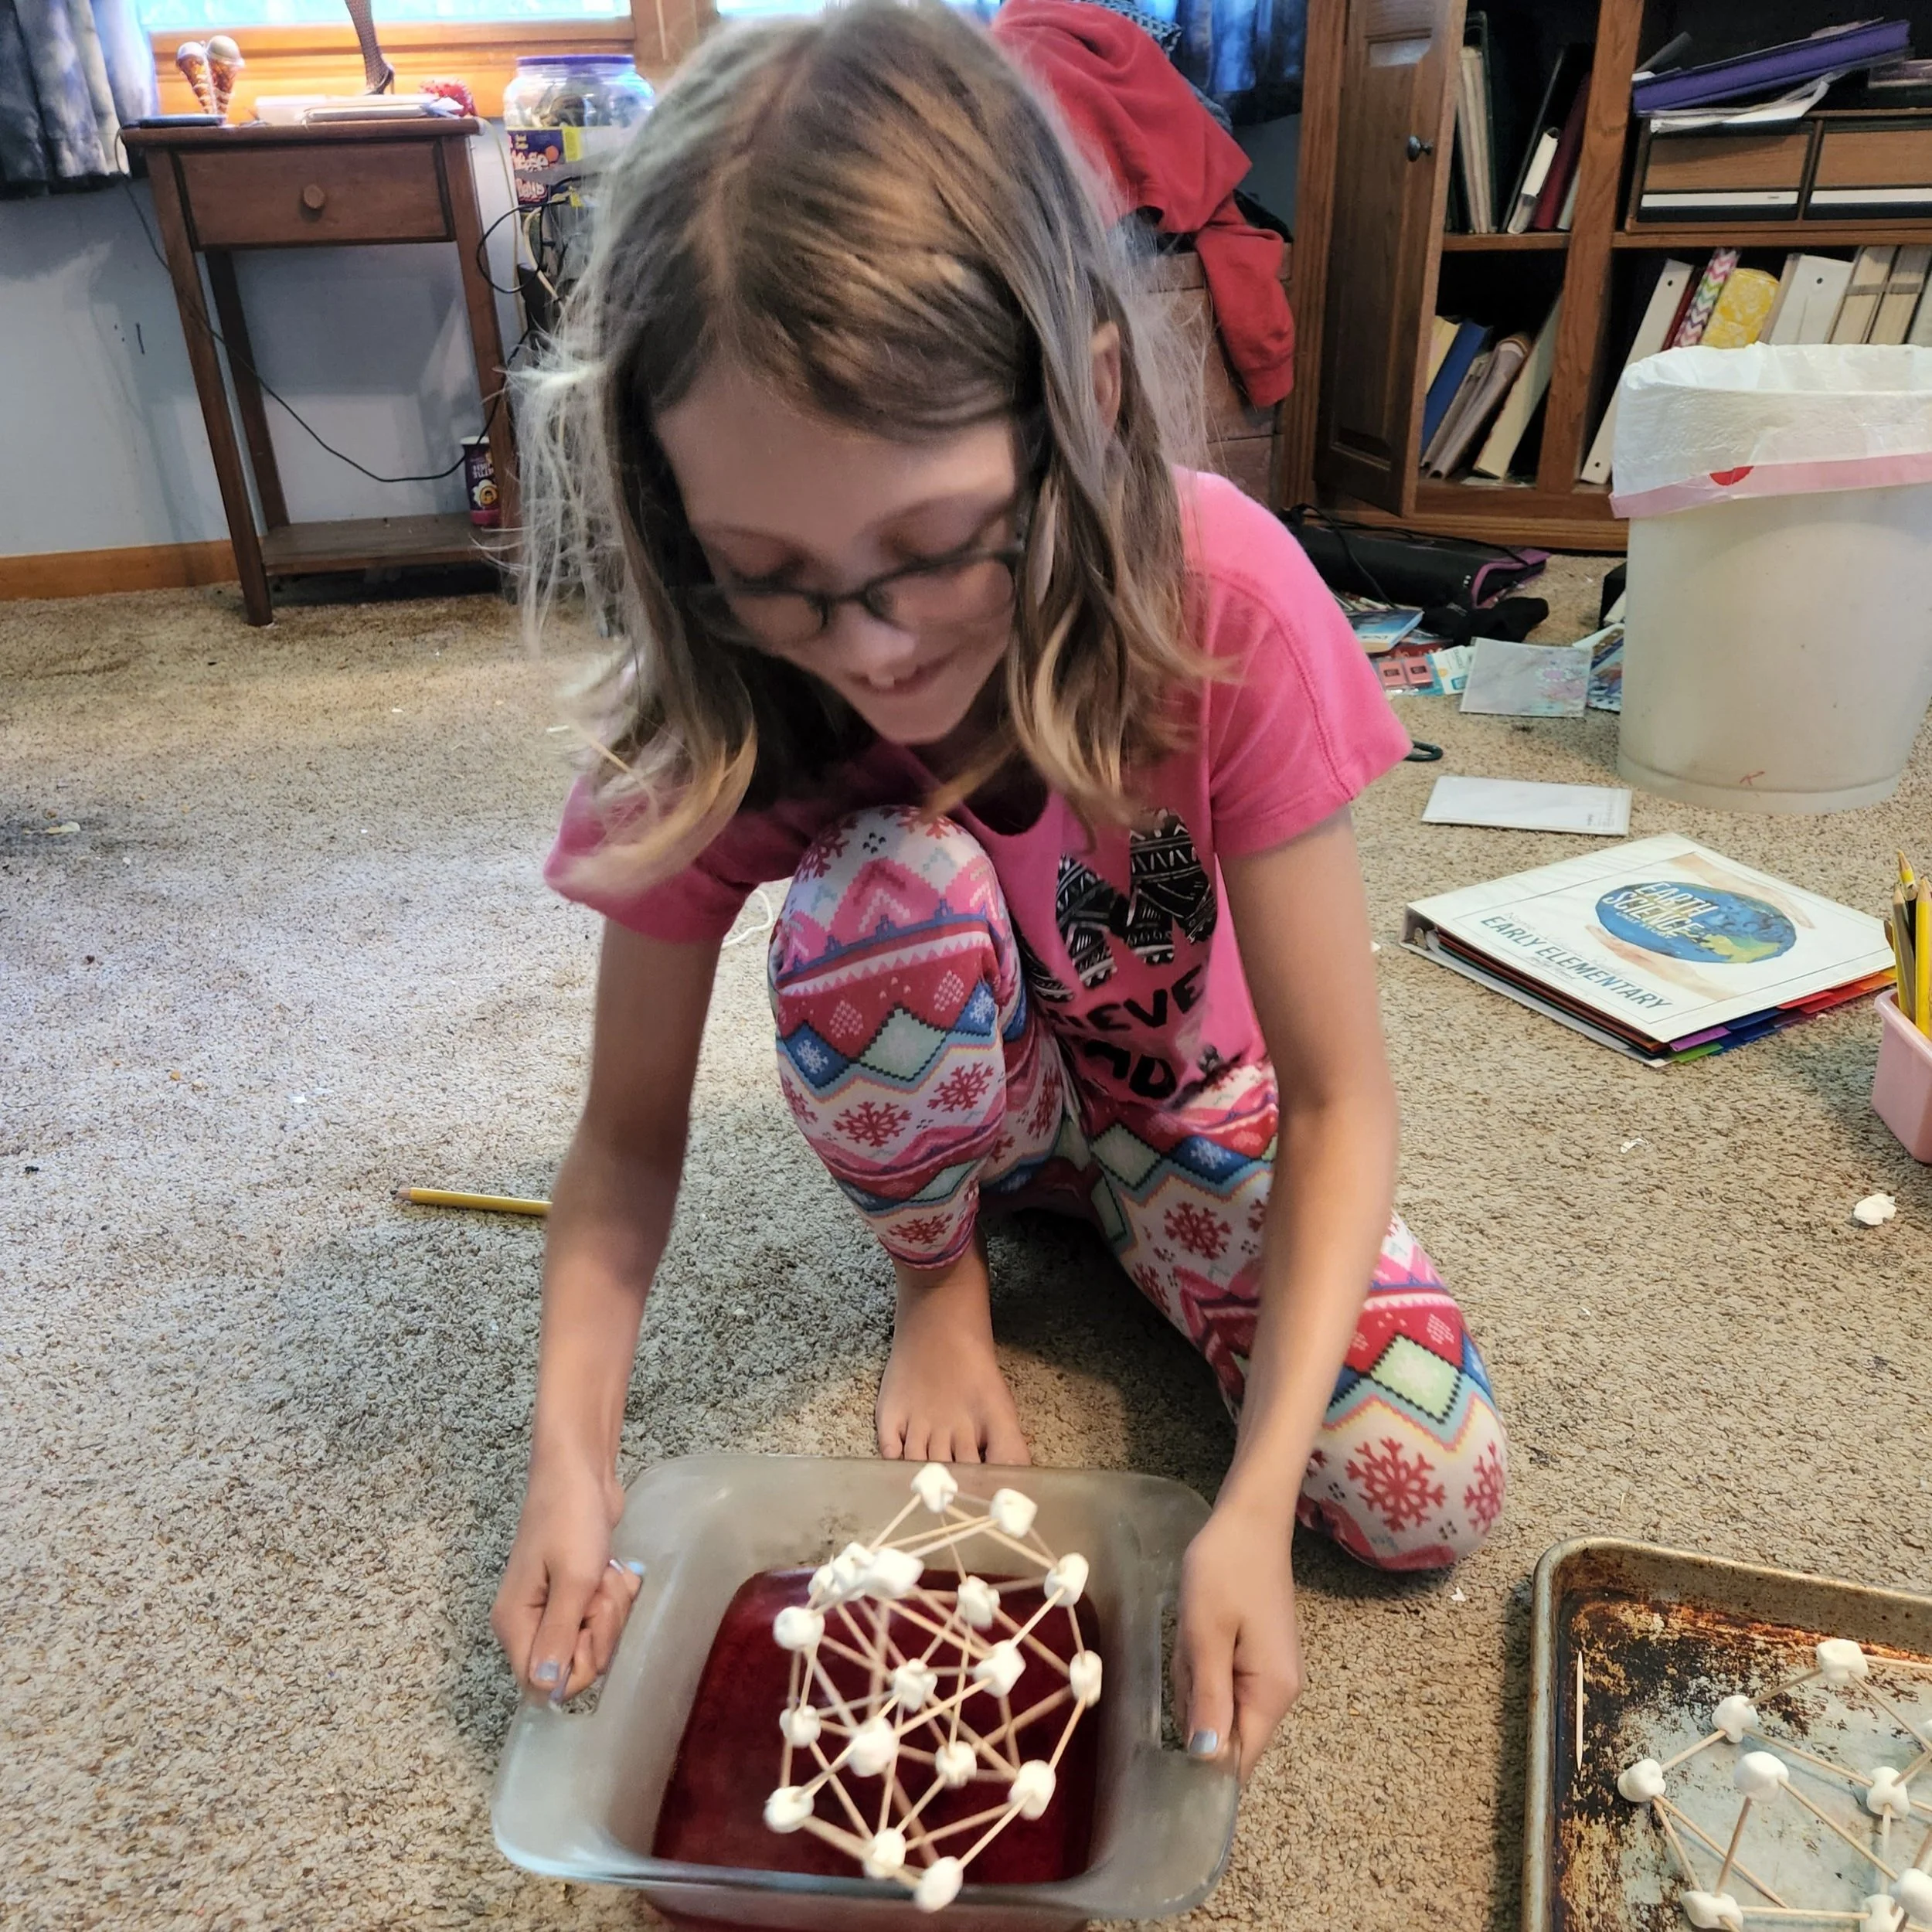
This one is always a hit! The goal is to test how well different structures can withstand an “earthquake.” The jello represents the land, and toothpicks with marshmallows are used to build “buildings.”
Supplies:
Jello mix
Mini marshmallows
Toothpicks
Instructions:
Prepare the Jello
Make the jello the night before so it has plenty of time to set. Pour it into a shallow dish and refrigerate until firm.Build the Structures
Give each child marshmallows and toothpicks. Explain that their challenge is to design and build a structure that can survive an earthquake.Test for Earthquake Strength
Once everyone’s buildings are ready, place them on the jello “land.” Then, it’s time to shake! Gently jiggle the dish to simulate an earthquake and see which structure stays standing the longest.
This project is full of laughter and learning! My daughter couldn’t stop giggling as her structure wobbled, and for the record, mine didn’t even make it onto the jello before collapsing!
🌋 Volcano Experiment

Of course, no Earth Science unit is complete without the classic volcano experiment!
Supplies:
Empty plastic soda or water bottle (16 oz works best)
Straws
Scissors
Baking soda
Vinegar
Food coloring
Dish soap
6 cups flour
2 cups salt
4 tablespoons cooking oil
2 cups water
Cookie sheet
Build the Volcano:
Make the Dough
In a large bowl, mix flour, salt, oil, and water until smooth and firm. If the dough feels too dry, add a little more water at a time.Prepare the Bottle
Cut a straw in half and use scissors to make 1–2 holes in the sides of the bottle. Insert the straws. These will act as your volcano vents.Form the Volcano
Place the bottle on a cookie sheet. Use the dough to build up the sides of your volcano, shaping it around the bottle and straws. Be sure to leave the top open!
Eruption Time:
Add a few drops of dish soap into the bottle.
Spoon in about 2 tablespoons of baking soda.
Add 4–6 drops of food coloring for effect.
Pour in vinegar and watch your volcano erupt!
You can repeat the eruption as many times as you’d like, Just add more baking soda and vinegar.
These three projects are some of our family’s favorites for bringing Earth Science to life. They’re hands-on, educational, and a whole lot of fun—perfect for curious kids who learn best by doing!